Automatic Visual Inspection

In the past year, methods of ellipsometry, spectroscopy, confocal microscopy, deflectometry, laser triangulation and light field approaches were researched in Automatic Visual Inspection. The entire chain from image acquisition through image processing to the use of image information is examined. Methods of optics, signal processing, pattern recognition and information fusion are combined to form operational systems. Our research interests lie in demanding and unsolved inspection tasks.
Variable Image Acquisition and Processing
In many industrial applications, a relevant scene cannot be captured with a single shot in such a way that the relevant information is recognizable. Image series with varied acquisition parameters (e.g. camera position or direction, illumination spectrum or light polarization) allow relevant information about a scene to be obtained, as shown in Figures 1 and 2.
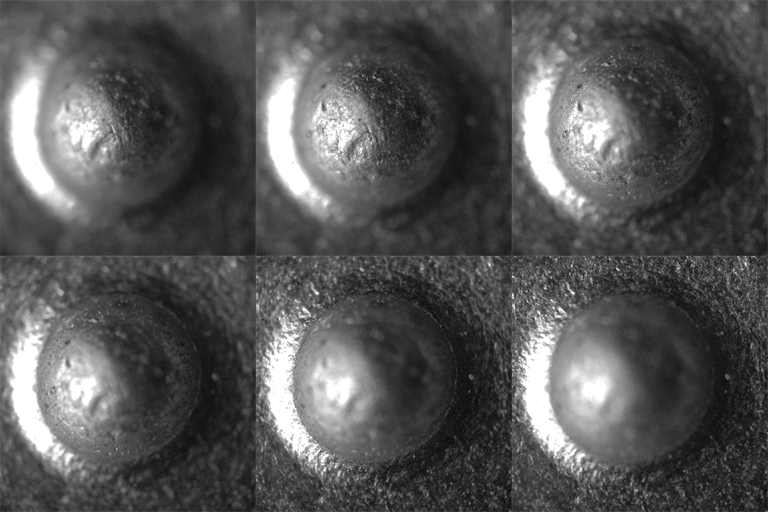
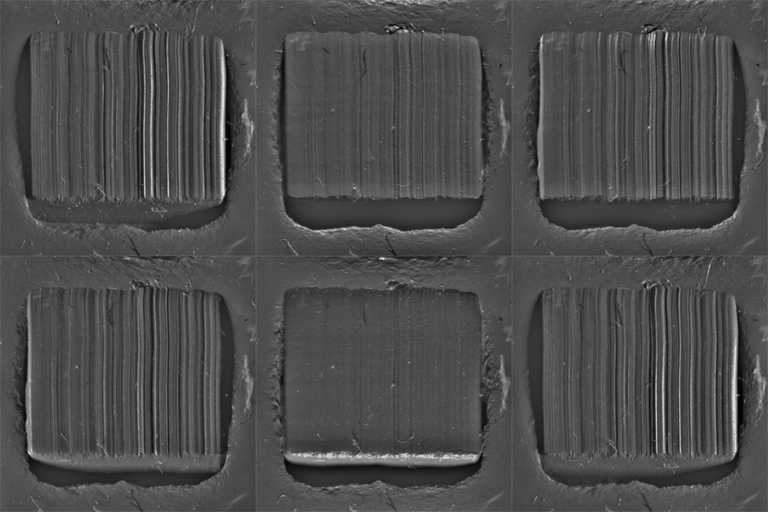
Figure 1: Image series with varied focus position (left) and the fusion result with the maximum sharpness at each point (right).
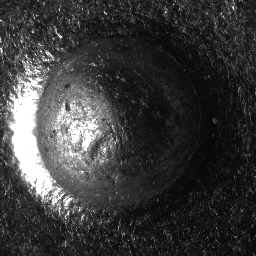
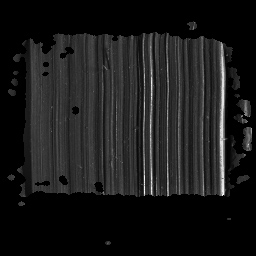
Figure 2: Variation of the azimuth of a directional illumination (left) and the fusion result with segmented scoring area (right).
Advances in mathematical methods for modeling, planning and evaluating image series and the availability of inexpensive camera and handling systems make such methods more and more interesting for the user when standard methods of image processing and automatic visual inspection cannot be used for the task or a high degree of inspection flexibility is required.
Competences and Research Topics
The research group Variable Image Acquisition and Processing (VBV) together with the Fraunhofer Institute for Optronics, Systems Engineering and Image Evaluation IOSB (formerly IITB) has set itself the strategic goal of fundamentally researching the possibilities of variable image acquisition systems and making them economically usable. The scientific agenda includes important research areas that are necessary for the systematic use of variable image acquisition and processing:
- Systems theory represents the theoretical basis for the acquisition of image series. One focus is on the representation of the available parameter spaces and their mutual dependencies.
- Variable acquisition techniques. It contains the identification of the acquisition parameters, through whose variation additional information can be obtained. It also contains techniques for computer-aided and reproducible acquisition of image series. The focus here is on the handling of the components of image acquisition, the development of suitable lighting equipment as well as the development of lighting strategies and their experimental implementation.
- Fusion of image series to extract the information of interest.
- Active Vision is a kind of control loop to optimize the acquisition parameters under consideration of previous results. The static "viewing" of the object usually practiced in automatic visual inspection is replaced by a dynamic "looking after", which mimics the visual inspection of an expert.
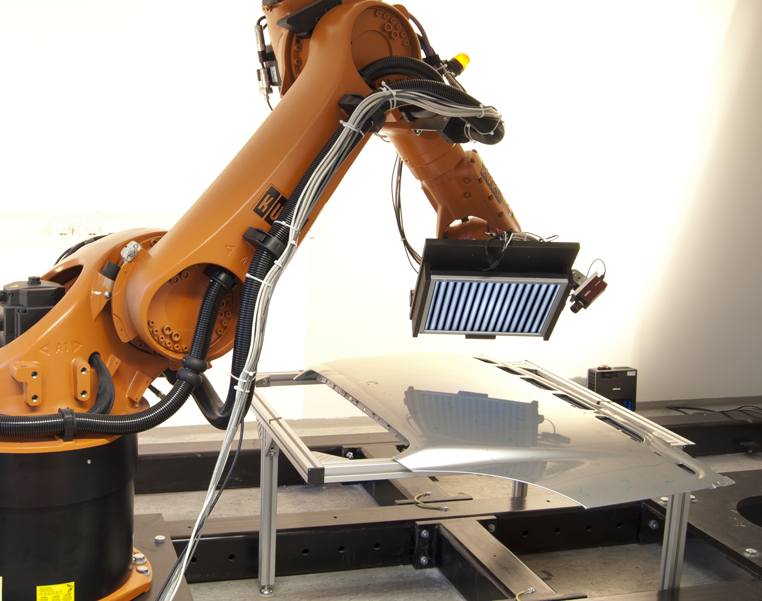
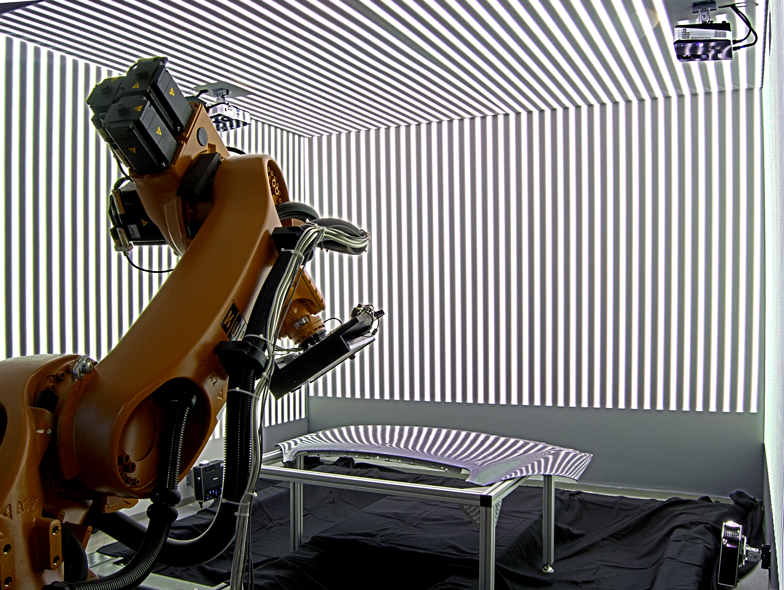
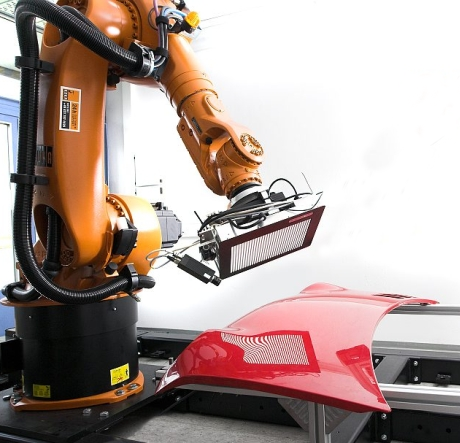
- Inspection of reflective surfaces by deflectometry. A camera observes the reflection of a generated pattern in the surface. The research focus of the VBV group is in particular on rapid defect detection with inverse patterns, robot-assisted inspection of large components, inspection of partially reflecting surfaces and mathematical analysis of the reconstruction problem and its regularization with the aid of.
Infrastructure and Resources
- Laser laboratory: An industrial laser with a programmable focus head together with a heat-resistant screen displays any images in thermal infrared.
- Deflectometry sensor head. The sensor head consists of an LC display as pattern generator, several high-resolution video cameras and a sensor-integrated control and evaluation computer. Due to its compact design, the sensor head can be mounted on an industrial robot and thus enables the inspection of large (partially) reflecting components under specifically varied illumination.
Deflectometry
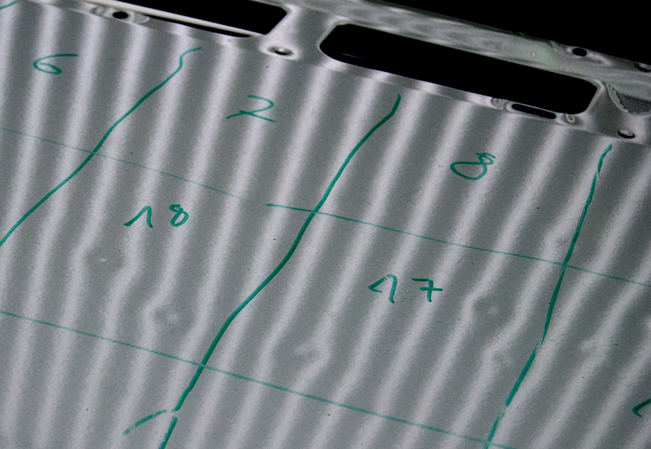
In contrast to diffuse reflection, the visual inspection of reflecting surfaces does not reveal the surface itself, but the mirror image of the environment. This causes considerable problems for conventional methods of determining the 3-D object shape - such as triangulation or shape from shading - since these are dependent on at least partial diffuse reflection. The deflectometric measurement method, on the other hand, uses reflective reflection: mirror images of known patterns in the surface and their deformations are observed. This procedure corresponds in principle to the inspection by the human observer, who holds the surface to be inspected "in the right light" and looks for disturbances in the mirror image.
Goals
However, this approach, which is intuitively mastered by humans, poses some challenges when it comes to technical implementation:
- The principle of deflectometry is to be transferred into the long-wave, thermal infrared spectrum in order to take advantage of the differing optical properties of many surfaces in this spectrum. The main task of this project is to design a pattern generator for this spectrum.
- In the case of surfaces that are to be used and used industrially or simply look aesthetically "beautiful", such as body parts, mirroring (directed) reflection often plays a decisive role. The visual inspection of reflective surfaces, however, poses a great challenge to testing practice so far. In this project, a deflectometric approach is to be investigated and further developed into a significantly improved testing method. In this context, the use of wavelet-based methods for geometric data from deflectometric measurements will be investigated.
- Using commercially available LC displays as pattern generators, only small areas can be inspected in a measurement. Therefore, multiple measurements are required to fully capture the surface. The associated parameters of the deflectometric measuring device are to be determined using an automated procedure.
- The quantitative reconstruction of reflecting surfaces represents a poorly positioned inverse problem, the solution of which requires additional information. Such additional information is obtained, for example, by localizing a reference point, by taking several measurements from different camera perspectives or by sensor fusion with shape from shading data.
- The true 3D reconstruction of the surface is computationally intensive and often not possible in real time. In practice, however, a reconstruction is often not even necessary if it is only important to determine the accuracy of the test object. Inspection strategies with so-called "inverse" excitation, in which a flawless object generates inconspicuous sensor data that can be evaluated very quickly, are ideal here.
|
|
|
